Map Tactics & Callouts Complete Guide
Covering default attack/defense setups, common pre-aim spots, utility lineups, and callout terminology for every competitive map. Hover over map markers to view detailed tactical notes.
Default Attack Setup
Standard default attack positions for each map, marking recommended agent roles and the most effective push routes. Hover over markers for details.
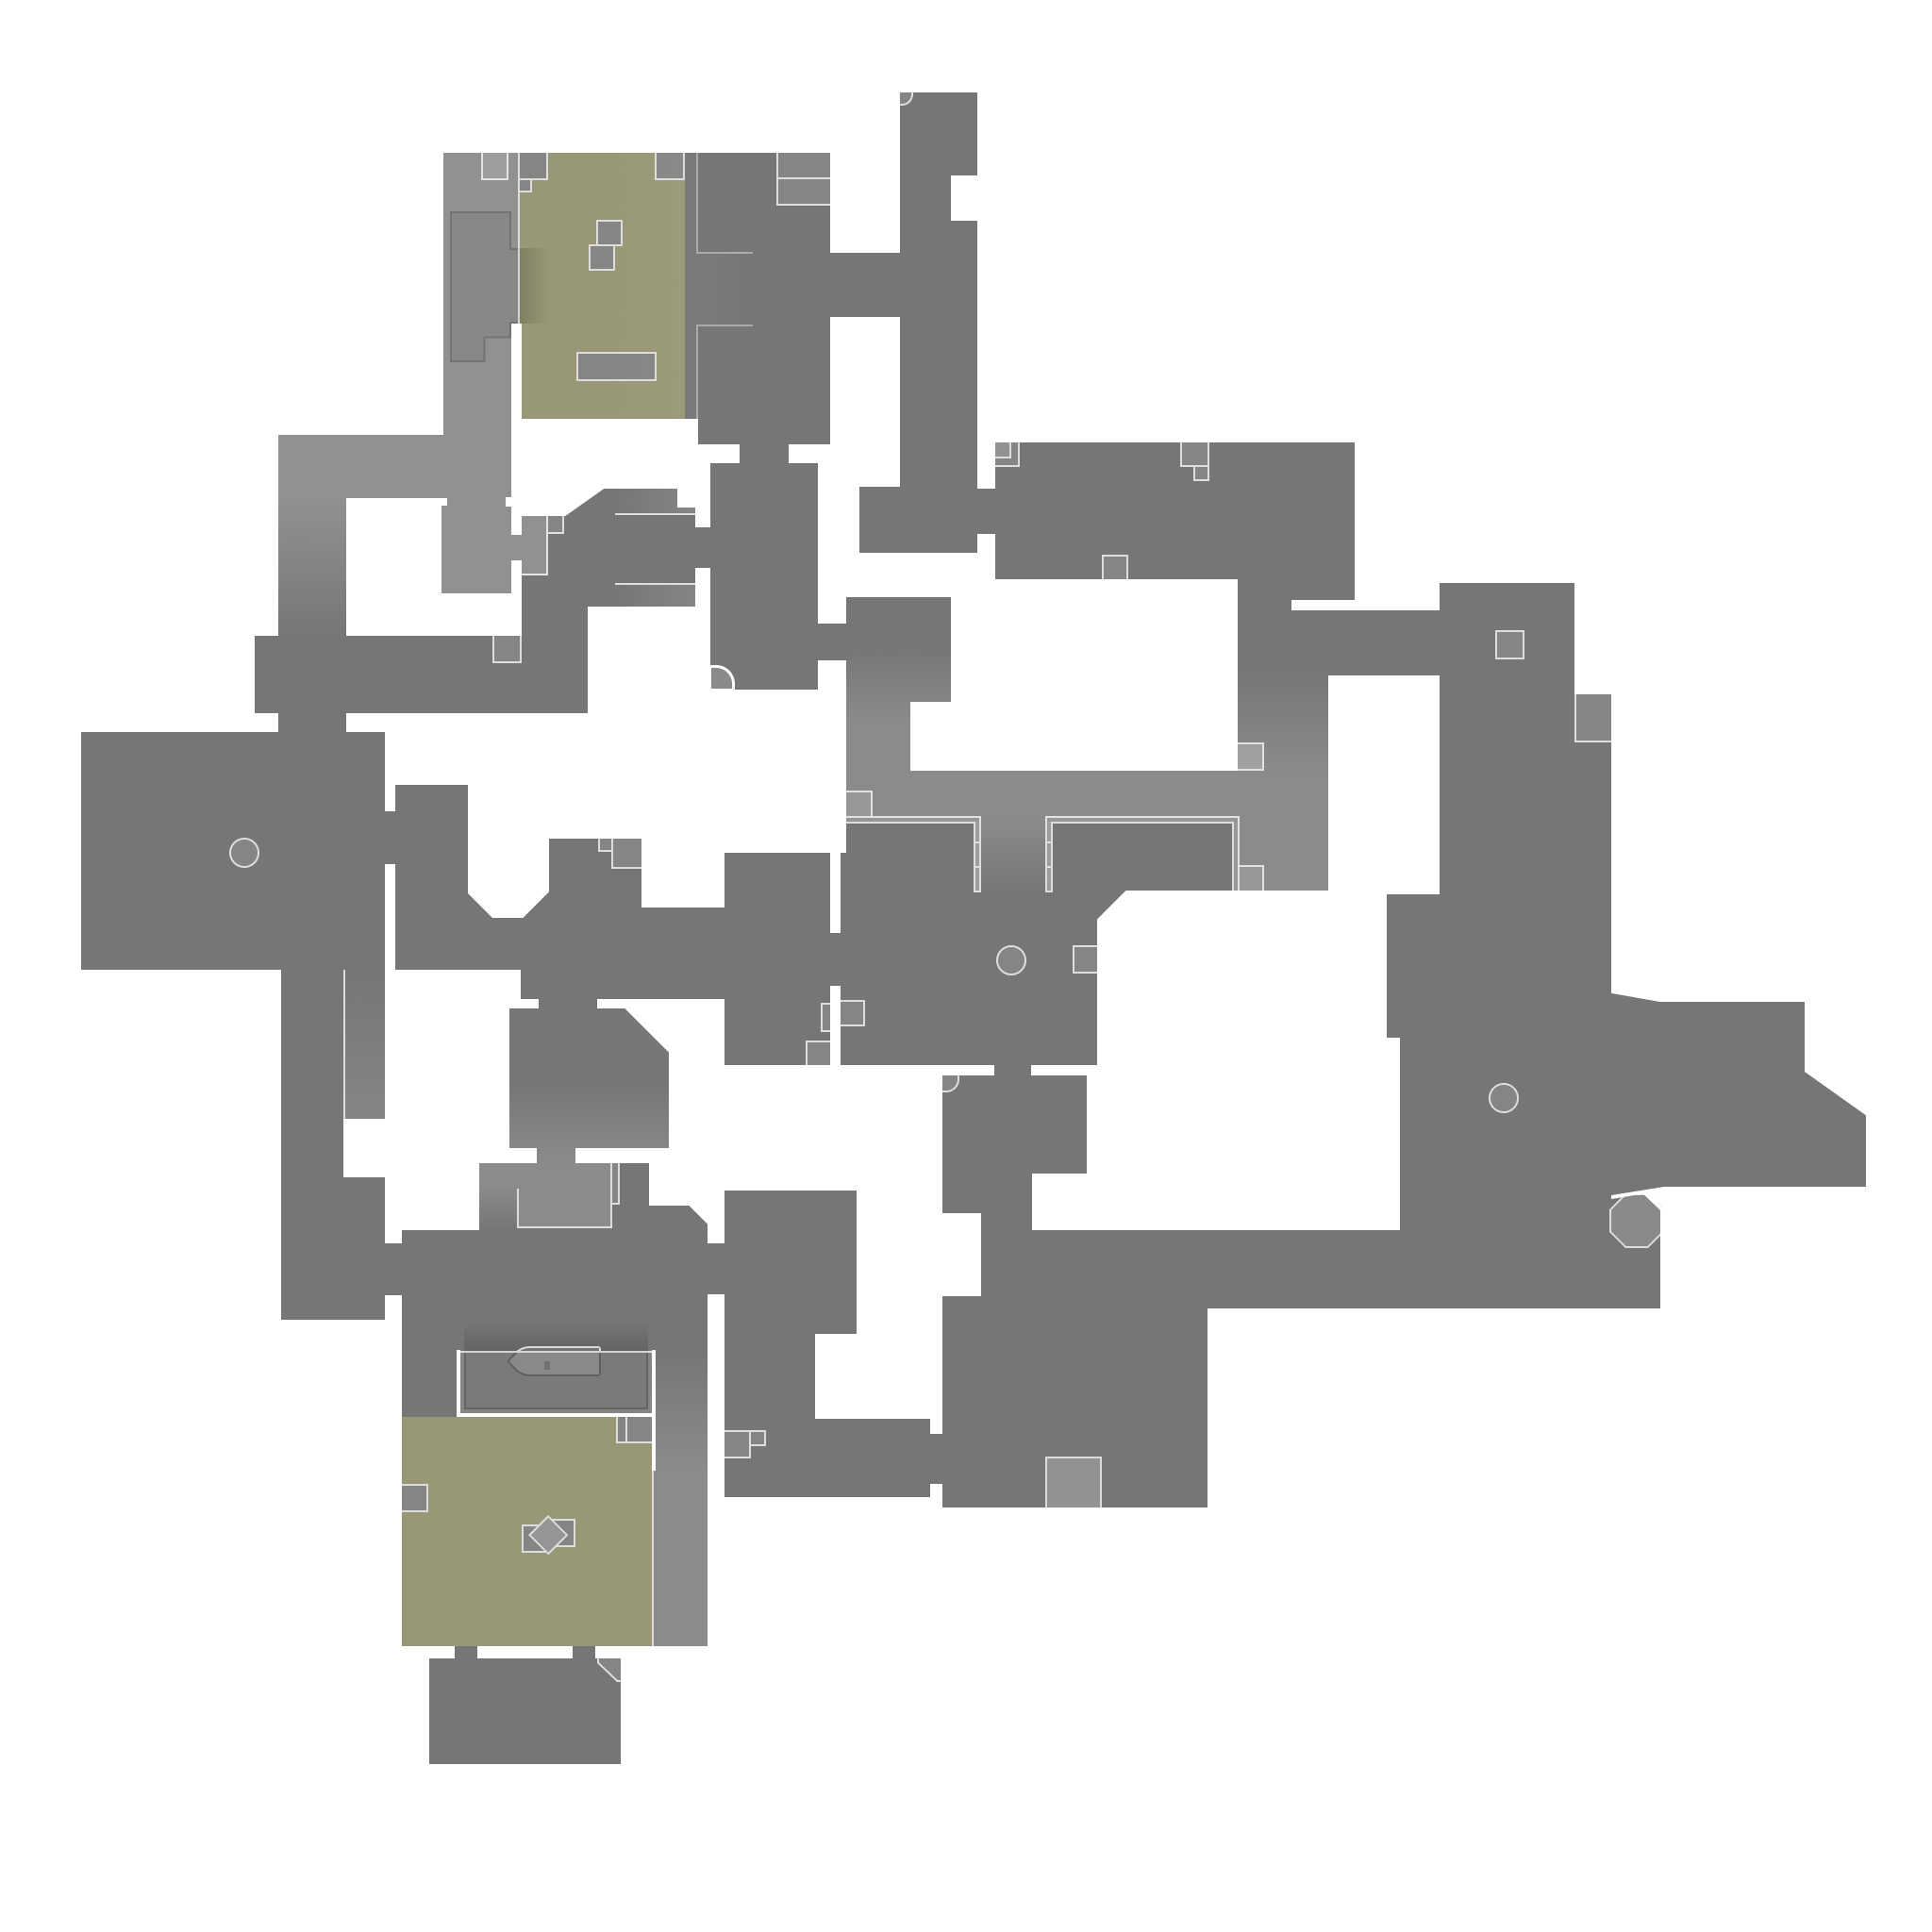
Hold A Site from A Main entrance, wait for smokes and recon before pushing. Duelist takes point, Initiator provides recon support.
Take control of Mid Courtyard, cutting off defender rotations between A and B. Controller smokes off Market and CT directions.
Slow push from B Main, clearing defender positions at B Site and Market. Sentinel watches flank.
Flank through A Tree side path to get behind A Site, coordinating a pinch with the frontal push.
Universal Callout Formula
Good callout = Count + Location + Status
Example: "Two A Lobby, one low HP" — clear info, concise and effective. Avoid emotional language; keep communication calm and objective.
Heaven
Elevated platform or second-floor position above a site
Hell
Lower area directly beneath Heaven
CT / CT Spawn
Defender spawn area and rotation hub
Mid
Central map area connecting A/B rotations
Mastering Valorant Tactics & Strategy
Tactical understanding is what separates mechanically skilled players from truly great competitors in Valorant. While aim and reaction time can win individual duels, tactical knowledge wins rounds, halves, and matches. Map tactics encompass every strategic element of the game: default setups that establish map control at the start of a round, attack executes that coordinate utility to breach defended sites, defensive holds that funnel attackers into unfavorable fights, and mid-round adaptations that respond to the evolving state of play. The six tactical layers on this page — Attack Setup, Defense Setup, Pre-Aim Spots, Utility Lineups, Callout Dictionary, and Video Guides — work together as a complete learning system. Start with the callout dictionary for any new map to build your communication vocabulary, study the default setups to understand standard positions, practice the pre-aim spots to improve your dueling efficiency, and master a few key utility lineups to give your team consistent executes. Hover over any map marker to reveal detailed tactical notes written by experienced players and coaches.
How to Study Map Tactics Effectively
- One map at a time. Pick one map and study it deeply before moving to the next. Spend a week focusing exclusively on a single map — learn all the callouts, memorize the default attack and defense positions, and practice the common pre-aim angles. Switching between maps too frequently dilutes your learning and prevents the tactical knowledge from becoming automatic. Most players see the biggest improvement on their worst map after just three to five days of focused study combined with intentional practice in real matches.
- Learn callouts before setups. Communication is the foundation of team tactics. Before studying attack and defense setups, ensure you can name every location on the map accurately. During a match, a teammate calling "one Heaven, low HP" is infinitely more useful than "one over there." Spend ten minutes memorizing the callout dictionary for your target map, then actively use those callouts in your games. The goal is for callouts to become second nature so you can process and relay information without conscious effort.
- Practice utility lineups in custom games. Reading about a Viper wall or a Sova recon dart is not enough — you need to go into a custom game and throw the utility yourself. Pick two or three key lineups for your main agent on your target map and practice them until you can execute them reliably without looking up the lineup. One well-placed lineup can neutralize an entire defensive hold or stall an attack for critical seconds. The video guide tab on each map shows visual demonstrations of the most impactful utility placements.
- Watch pro matches on the same map. After studying the tactical layers here, watch a VCT match on the same map and observe how professional teams apply these concepts at the highest level. Pay attention to their default setups, how they use utility in combination, and how they adapt mid-round when plans go wrong. The esports tracker on VALTRAIN can help you find recent pro matches on specific maps so you can study the current competitive meta.
Frequently Asked Questions
How often are map tactics updated?
Tactical content is reviewed and updated within one week of every major Valorant patch. Map reworks, agent balance changes, and utility adjustments can significantly shift the optimal setups and lineups for each map. When a new agent is released, we prioritize adding relevant utility lineups for all maps where the agent is commonly played. The meta evolves continuously as the community discovers new strategies and Riot adjusts agent balance — our tactical guides evolve alongside the competitive scene to reflect the most current and effective approaches.
Do I need to memorize every lineup on every map?
No — and trying to do so is counterproductive. Focus on the two or three agents you play most and learn their key lineups on the maps in the current competitive rotation. For each agent-map combination, mastering three to five utility lineups is usually sufficient for ranked play up to Immortal. Quality over quantity: one lineup you can execute perfectly under pressure is worth more than ten you fumble in a real match. As your agent pool and map pool expand naturally over time, add new lineups gradually rather than trying to learn everything at once.
Should I always follow the default setups shown here?
Default setups are starting points, not rigid rules. They represent the most fundamentally sound positions based on map geometry and common threat angles, which is why they are effective across all ranks. Once you understand why these defaults work, you can begin adapting them to counter specific enemy tendencies. For example, if the enemy team consistently rushes a particular site, you might stack an extra player there. If they favor slow defaults, you might play more aggressive early-round picks. The best players use default setups as a foundation and layer their own adaptations on top based on in-game information and opponent patterns.
How do pre-aim spots differ from regular crosshair placement?
Pre-aim spots are specific, high-probability angles where enemies are statistically most likely to be positioned when you peek. While general crosshair placement keeps your aim at head height as you move through the map, pre-aiming means deliberately placing your crosshair on the exact pixel where an enemy's head will appear before you even step around the corner. The pre-aim spots marked on our tactical maps are the angles that professional players check first in every round. Practicing these spots reduces the distance your crosshair needs to travel when you engage an enemy, effectively giving you a reaction time advantage. Over time, checking these angles becomes muscle memory, and you will find yourself winning more opening duels without consciously thinking about your crosshair placement.